
It's been quite some time since I've been here, but I guess I haven't really had much to say.
Then came 2020...
I have been laid off, like many other Americans, as my job is currently closed due to the pandemic.The County I live in is slowly starting to reopen after 57 days of Stay at Home orders, but it'll might still be some time before I get back to my job.
57 days is a very long time when you are used to a routine. I really struggled in the beginning. I am very lucky though, to be at home with my best friend. He has really helped me through this. On my very good days, I sit and work at my computer, across the dining table from him and his computer. He was able to work from home with his job, which has been a great thing.
What am I doing these days? I have been going through my jewelry inventory and photographing and listing anything that wasn't in the ArtFire shop. I am going through a type of jewelry (i.e. earrings), then I am doing a metal color at a time (i.e. silver, gold, copper, etc.). Then I'm checking it's pricing, reviewing existing photos, retaking photos as needed, adding photos to Facebook, and finally listing on ArtFire.
It's nice to have so much time to devote to my online shop, but it would be nice if the world was more back to normal right now.
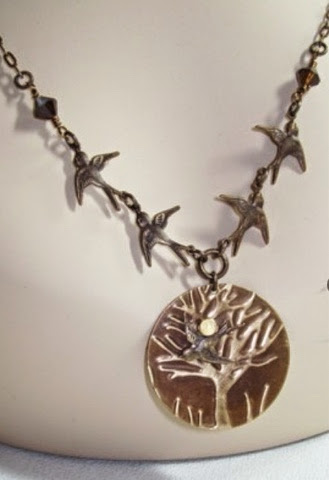
Here is something pretty to look at:
 |
| Pomegranate Earrings featuring Gardanne Beads pendant and Humblebeads polymer clay beads |
So, what are you doing with your time at home? I'd love to hear what you're doing!


